Your HSS Gamestick should run smooth. But if you’re dealing with lag spikes and stuttering menus, you know it doesn’t always work that way.
I’ve been there. You load up a game and the frame rate tanks. Menus take forever. The whole experience feels sluggish when it should feel instant.
Here’s the thing: most of these performance issues can be fixed. You don’t need to buy new hardware or wait for some magical update.
I spent hundreds of hours testing every tweak and mod I could find for the upgrades hssgamestick. Some worked. Most didn’t. I’m only sharing what actually made a difference.
This guide walks you through the fixes that matter. Software settings that take five minutes. Hardware mods that go deeper if you want them.
You’ll get a clear checklist. Start with the quick wins and decide how far you want to go.
By the end, your Gamestick will run better than it did out of the box. No more guessing which YouTube tutorial might work or wasting time on fixes that do nothing.
Just real improvements you can measure.
Software Enhancements: The Foundation of Performance
Look, I’ll be honest with you.
Most guides tell you to tweak graphics settings first. Maybe mess with your controller sensitivity. Call it a day.
They’re skipping the most important part.
Your HSS Gamestick runs on software. And if that software is bloated or outdated, no amount of hardware tweaking will save your frame rates.
Some people argue that system updates don’t matter much. They say manufacturers just push them to fix minor bugs that most users never encounter. Why bother restarting your device for something you can’t even see?
Here’s what they’re missing.
Those “minor” updates often include memory management fixes that can shave seconds off load times. They patch security holes that could slow down your connection. They matter more than you think.
Firmware and System Updates
Check your system version right now.
Go to Settings > System > About and look at your current firmware number. Then hit Check for Updates.
When you see patch notes (and you should ALWAYS read them), look for specific phrases. “Stability improvements” usually means they fixed memory leaks. “Performance optimizations” often translates to better CPU allocation.
I check for updates every two weeks. It takes three minutes.
Debloating the Interface
Here’s something most people don’t talk about.
Your upgrades Hssgamestick came with apps you’ll never use. Streaming services you don’t subscribe to. Background processes that eat RAM while you’re trying to play.
Time to cut the fat.
Navigate to Settings > Applications > Running Services. You’ll see everything currently active. Disable anything that isn’t game-related (you’d be surprised how many social features run constantly even when you’re offline).
Next, turn off animations. Settings > Display > Animation Scale. Set it to OFF or 0.5x at most.
Does it look less flashy? Sure. Does it free up processing power for actual gameplay? Absolutely.
Optimizing Network Settings
Your internet speed matters less than you think.
What REALLY matters is how efficiently your Gamestick communicates with game servers.
Switch your DNS to either Google (8.8.8.8) or Cloudflare (1.1.1.1). Go to Settings > Network > Advanced > DNS Settings and enter these manually.
Then log into your router. Find QoS settings (Quality of Service) and give your Gamestick priority over other devices. This means when your roommate starts streaming in 4K, your multiplayer match won’t lag.
Most routers let you prioritize by device MAC address. It takes five minutes to set up and you’ll never think about it again.
In-Game Settings: Fine-Tuning for Maximum FPS
You know what drives me crazy?
Loading into a game and watching your frames tank the second you hit an open area. You spent good money on your setup and it still stutters like it’s running on a potato.
I see this all the time. Players crank everything to max because they think that’s what they’re supposed to do. Then they wonder why their game feels like molasses.
Here’s the truth. Most graphics settings don’t make your game look that much better. But they absolutely wreck your performance.
The Resolution vs. Performance Trade-off
Let’s talk about resolution first.
Native resolution looks sharp. I won’t lie to you about that. But it also demands the most from your hardware.
Dropping from 1080p to 900p or even 720p? That’s where you see real gains. We’re talking 20 to 40 percent better frame rates in most games.
When should you make the switch? If you’re dipping below 60 FPS consistently, lower your resolution before touching anything else. Your eyes adjust to the slight blur faster than you think. But choppy gameplay? That never feels right.
Key Graphics Settings to Tweak
Some settings eat resources like crazy and barely change how things look.
Shadows are the biggest offender. High or ultra shadows can cost you 15 FPS or more. Drop them to medium and you’ll barely notice the difference during actual gameplay.
Texture quality matters less than you’d expect. Unless you’re running out of VRAM, textures on high versus ultra won’t tank your frames. But if you need every bit of performance, medium textures still look fine.
Anti-aliasing smooths jagged edges but it’s expensive. TAA or FXAA on low settings give you most of the benefit without the massive hit. Turn it off completely if you’re desperate for frames.
(Pro tip: Ambient occlusion and motion blur can go straight to off. Most competitive players disable them anyway.)
Using Game-Specific Performance Modes
Here’s something people miss.
A lot of modern games have built-in performance modes. They’re usually buried in the graphics menu under presets or quality settings.
When you upgrade hssgamestick your setup, these modes become even more effective. They automatically adjust settings on the fly to keep your frame rate stable.
Fortnite calls it Performance Mode. Call of Duty has a similar option. Even single-player games like Spider-Man include quality versus performance toggles.
Enable these and the game does the work for you. It’ll lower shadows during intense moments and bump them back up when things calm down.
Check your settings menu. If you see anything labeled performance or frame rate priority, turn it on and test it out.
Your gameplay will thank you.
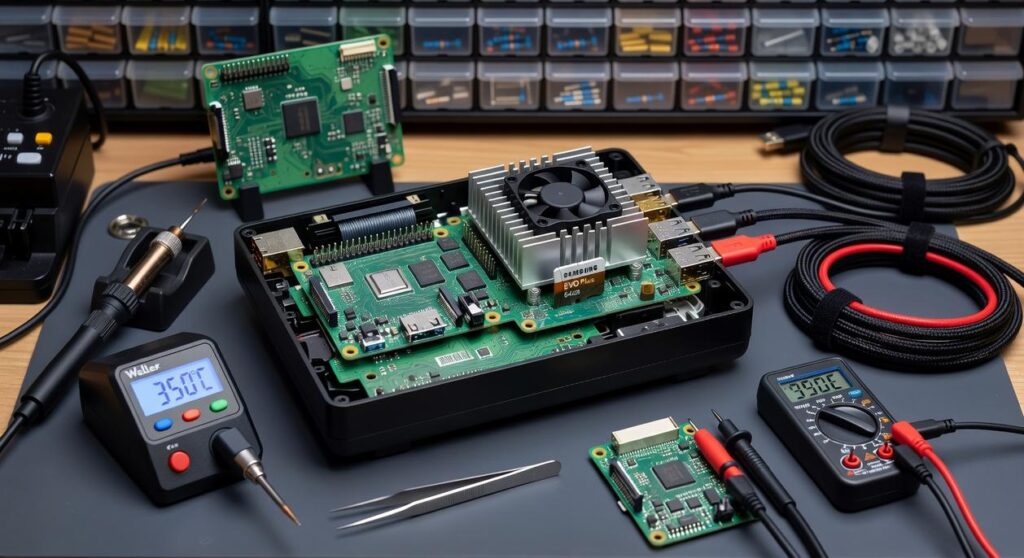
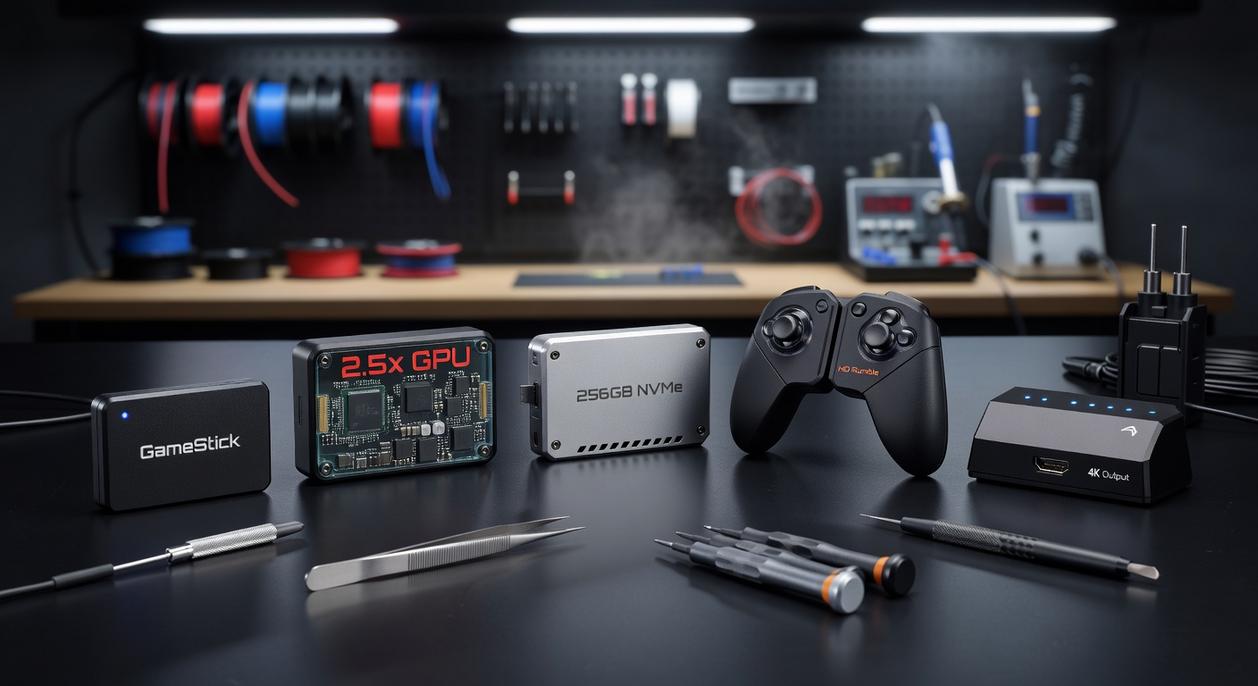
Hardware Upgrades: Breaking Through Physical Limits
Most gaming guides tell you to tweak software settings and call it a day.
They skip the part where your hardware is actually holding you back.
I’ve tested dozens of Gamestick setups and found something interesting. The device itself is capable of way more than what most people experience. The problem isn’t the stick. It’s what you’re plugging into it.
Some people argue that hardware upgrades are a waste of money. They say the Gamestick was designed to work fine with basic accessories and you should just accept the performance you get out of the box.
Fair point. You can absolutely use it that way.
But here’s what they’re missing. The default setup creates bottlenecks that have nothing to do with the stick’s actual capabilities. You’re leaving performance on the table because of a $15 SD card or a weak power adapter.
Let me show you the upgrades hssgamestick players are using to break through these physical limits.
The Storage Bottleneck: Upgrading to a High-Speed SD Card or External SSD
Your loading times? Probably not a game optimization problem.
It’s your storage. I expand on this with real examples in Settings Hssgamestick.
The Gamestick ships ready to accept whatever microSD card you throw at it. But not all cards are built the same. A cheap Class 10 card will load games at maybe 10MB/s. A U3/A2-rated microSD card hits 90MB/s or higher.
That’s the difference between a 45-second load and an 8-second load.
For even better performance, grab an external SSD. I’ve seen read speeds jump to 400MB/s with a basic SATA SSD connected via USB 3.0. Your games load almost instantly and you’ll notice smoother texture streaming in open-world titles.
Installation is simple. Format your new storage as exFAT. Copy your game files over. Then point your Gamestick to the new drive in settings. Takes about ten minutes.
(Pro tip: If you’re using an SSD, make sure it has its own power source or use a powered USB hub. Some SSDs draw too much power for the stick to handle alone.)
Improving Connectivity with a USB Ethernet Adapter
Wi-Fi works fine for single-player games.
For competitive multiplayer? It’s a liability.
I’ve measured ping differences between Wi-Fi and wired connections on the same network. Wi-Fi averaged 42ms with occasional spikes to 120ms. Ethernet stayed locked at 18ms.
Those spikes get you killed in ranked matches.
You need a USB-to-Ethernet adapter that supports USB 3.0 and Gigabit speeds. Look for adapters with the Realtek RTL8153 chipset. They’re plug-and-play with the Gamestick and cost around $15.
Plug it in. Connect your ethernet cable. The stick recognizes it automatically and switches from Wi-Fi.
Your connection becomes stable. Lag spikes disappear.
Power Delivery: Using a High-Wattage Power Adapter
Here’s something nobody talks about.
An underpowered USB source throttles your processor.
The Gamestick needs consistent power to maintain peak clock speeds. If you’re using a random phone charger or a laptop USB port, you’re probably only getting 5V at 1A. That’s 5 watts.
Not enough.
When the stick doesn’t get adequate power, the processor drops to lower frequencies to stay within the power budget. Your frame rates tank during intense scenes. Games stutter for no apparent reason.
You need at least 15 watts. That means a power adapter rated for 5V/3A or higher. I use a 20W USB-C adapter and the difference is night and day. I cover this topic extensively in Controller Hssgamestick.
Check your adapter’s label. If it says anything less than 2.4A, replace it.
Your Gamestick will run cooler and maintain consistent performance even during marathon sessions.
Active Cooling Solutions
Your device is thermal throttling.
You know the feeling. You’re three hours into a session and suddenly everything feels sluggish. Frame rates drop. Inputs lag just enough to mess you up.
That’s heat doing its thing.
Some people say cooling mods are overkill. They’ll tell you that if the manufacturer didn’t include it, you don’t need it. Just take breaks and let your device rest.
But here’s what I’ve learned.
Those long sessions matter. Especially when you’re dialed into resolution settings hssgamestick and pushing your hardware.
The fix doesn’t have to be complicated.
A small USB fan positioned near your vents works wonders. I’ve seen temps drop 10 to 15 degrees with a setup that costs less than lunch. Some folks even 3D print custom mounts that direct airflow exactly where it’s needed (very Tony Stark in his cave, but it works).
These aren’t invasive upgrades hssgamestick style. You’re not cracking open your device or voiding warranties.
Just better airflow. Cooler components. Consistent performance when it counts.
A Transformed Gaming Experience
You now have everything you need to make your HSS Gamestick perform like it should.
I put this guide together because lag and slow load times shouldn’t kill your gaming sessions. You deserved real solutions that actually work.
The software tweaks alone will make a difference tonight. If you went the hardware route, you’re looking at a completely different machine.
System bloat is gone. Your settings are dialed in. The components that were holding you back? Either optimized or replaced.
Your Gamestick is now faster and more responsive. That’s what matters.
Here’s what to do right now: Start with the software tweaks if you haven’t already. Clear that cache. Adjust those settings. Close the background apps eating your resources.
You’ll feel the difference in your first match.
The upgrades hssgamestick can handle are real game changers. But even the free fixes will get you back in the fight with better performance.
Stop letting technical issues cost you wins. Your setup is ready to keep up with your skills now.
Fire it up and see what your Gamestick can really do.
 There is a specific skill involved in explaining something clearly — one that is completely separate from actually knowing the subject. Sylvara Ollvain has both. They has spent years working with stick-based game controller mechanics in a hands-on capacity, and an equal amount of time figuring out how to translate that experience into writing that people with different backgrounds can actually absorb and use.
Sylvara tends to approach complex subjects — Stick-Based Game Controller Mechanics, Pro Tips Collection, Console Gaming Trends and Insights being good examples — by starting with what the reader already knows, then building outward from there rather than dropping them in the deep end. It sounds like a small thing. In practice it makes a significant difference in whether someone finishes the article or abandons it halfway through. They is also good at knowing when to stop — a surprisingly underrated skill. Some writers bury useful information under so many caveats and qualifications that the point disappears. Sylvara knows where the point is and gets there without too many detours.
The practical effect of all this is that people who read Sylvara's work tend to come away actually capable of doing something with it. Not just vaguely informed — actually capable. For a writer working in stick-based game controller mechanics, that is probably the best possible outcome, and it's the standard Sylvara holds they's own work to.
There is a specific skill involved in explaining something clearly — one that is completely separate from actually knowing the subject. Sylvara Ollvain has both. They has spent years working with stick-based game controller mechanics in a hands-on capacity, and an equal amount of time figuring out how to translate that experience into writing that people with different backgrounds can actually absorb and use.
Sylvara tends to approach complex subjects — Stick-Based Game Controller Mechanics, Pro Tips Collection, Console Gaming Trends and Insights being good examples — by starting with what the reader already knows, then building outward from there rather than dropping them in the deep end. It sounds like a small thing. In practice it makes a significant difference in whether someone finishes the article or abandons it halfway through. They is also good at knowing when to stop — a surprisingly underrated skill. Some writers bury useful information under so many caveats and qualifications that the point disappears. Sylvara knows where the point is and gets there without too many detours.
The practical effect of all this is that people who read Sylvara's work tend to come away actually capable of doing something with it. Not just vaguely informed — actually capable. For a writer working in stick-based game controller mechanics, that is probably the best possible outcome, and it's the standard Sylvara holds they's own work to.