I know you just opened the box on your new HSS Game Stick and you want to start playing.
You’re probably staring at cables and wondering which port goes where. Or maybe you’re worried about messing something up before you even get started.
I’ve spent thousands of hours testing stick-based controllers and figuring out what actually works. Not what the manual says should work. What really works when you’re trying to get from cardboard to gameplay.
This guide gets you set up fast. No confusion. No guessing.
You’ll go from unboxing to playing your favorite classic games in about 10 minutes. I’ll walk you through every step and show you the tricks that make the difference between a frustrating setup and a smooth one.
We’re also giving you a free PDF quick-start guide you can download and keep on your phone. That way you can reference it anytime without digging through a long article.
By the time you finish reading this, your HSS Game Stick will be ready to go and you’ll know exactly how to get the best performance out of it.
Let’s get you playing.
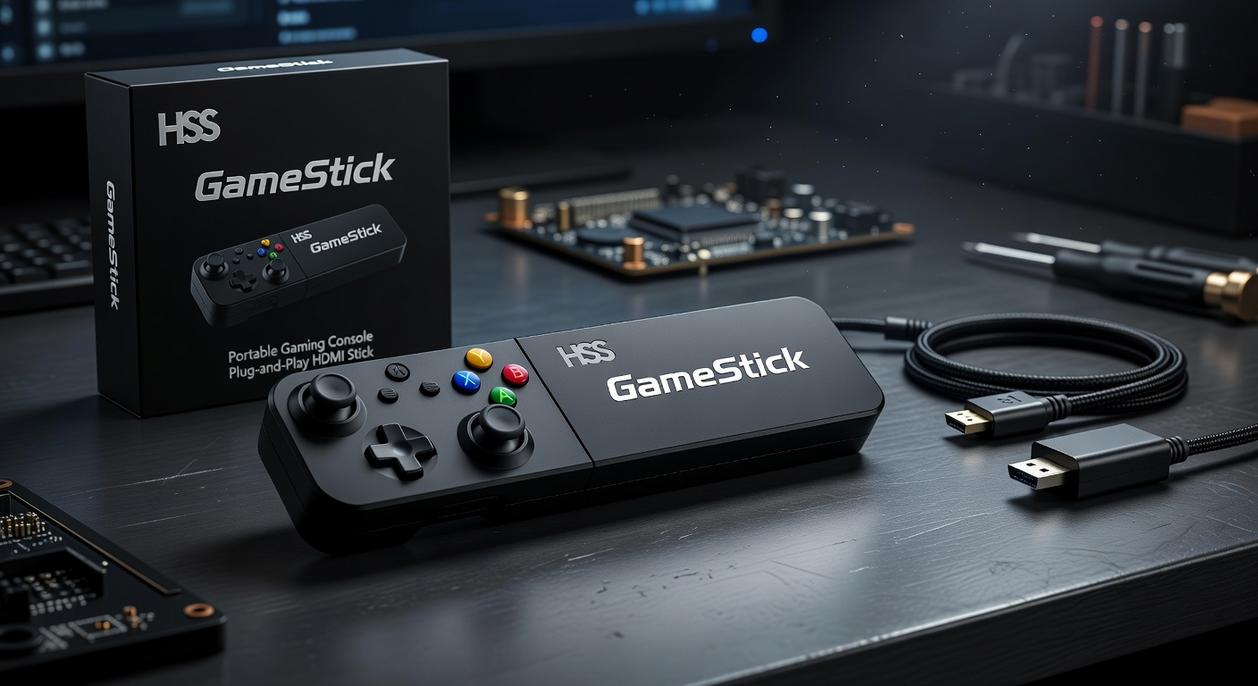
What’s in the Box? A Quick Component Checklist
Before you start plugging things in (I know you’re tempted), let’s make sure everything actually made it into the box.
I’ve opened enough packages to know that sometimes things go missing. Or you find a random cable and spend twenty minutes wondering what it’s for.
Here’s what should be staring back at you:
- The HSS Game Stick (the HDMI dongle that does all the magic)
- Two wireless game controllers (because gaming alone is sad)
- USB wireless receiver
- HDMI extender cable
- Micro-USB power cable
- User manual
Now about that user manual. It exists. It’s probably fine. But let’s be honest, you’re reading this online guide because the paper version is about as detailed as a fortune cookie.
That’s why I put together hssgamestick with actual setup tips that won’t leave you guessing.
Got everything? Good. Let’s move on to the fun part.
Step-by-Step: Your First-Time Setup Guide
Let me walk you through this.
I’ve seen people overthink the HSS Game Stick setup. They assume it’s going to be complicated because most gaming hardware comes with a manual the size of a phone book.
But here’s the truth. This takes about a minute if you know what you’re doing.
Some folks say you should read through the entire manual first and plan out every step. They worry about plugging things in the wrong order or damaging the ports.
I get where they’re coming from. But honestly? That’s overkill for something this simple.
The setup is plug and play. You don’t need an engineering degree.
Let me show you exactly how to get your game stick running.
Connecting the Hardware (The 60-Second Setup)
Step 1: Plug the USB wireless receiver into the port on the HSS Game Stick dongle.
You’ll feel a small click when it’s seated properly.
Step 2: Connect the Micro-USB power cable to the game stick.
The port is on the side. You can’t plug it in backwards so don’t stress about it.
Step 3: Plug the game stick directly into a spare HDMI port on your TV.
Use the included HDMI extender if the fit is too tight. Some TVs have ports that sit close together and the stick won’t fit without a little extra space.
Step 4: Plug the other end of the USB power cable into a USB port on your TV or a separate USB wall adapter.
Most modern TVs have USB ports on the side or back. If yours doesn’t, just use any phone charger you have lying around.
Powering On and Pairing Controllers
Step 5: Turn on your TV and switch to the correct HDMI input.
You know the drill. Hit the input button on your remote until you land on the right one.
Step 6: The hssgamestick menu should appear automatically.
If it doesn’t, double check that the power cable is plugged in and your TV is on the right input.
Step 7: Insert batteries into your wireless controllers and turn them on.
They should pair automatically with the USB receiver. You’ll see a small LED light up when the connection is active.
That’s it. You’re ready to play.
Navigating the Interface: Finding and Playing Games
You just powered on your HSS Gamestick for the first time.
Now what?
Most setup guides assume you already know how retro gaming interfaces work. They skip right past the basics and leave you staring at a menu wondering which button does what.
Here’s what nobody tells you. The interface isn’t complicated. But it’s different enough from modern consoles that you might feel lost for a minute.
Let me walk you through it.
When you boot up, you’ll see the main menu. It’s basically a horizontal list of game systems. Think NES, SNES, Genesis, and whatever else you loaded onto your device.
Use the D-pad or left analog stick to scroll left and right through these systems. Each one represents a different console library.
Found the system you want? Press A (or whatever your confirm button is set to in your resolution settings hssgamestick configuration).
Now you’re looking at that system’s game library.
Scroll up and down through the list. You’ll see every game you’ve got for that console. When you land on something you want to play, hit Start or A again to launch it.
That’s the basic flow.
But here’s where the HSS Gamestick actually beats most competitors. The search and organization features are way more useful than people realize.
Hit Select (usually) to bring up the quick menu. You’ll find Search, which lets you type in a game name instead of scrolling through hundreds of titles. There’s also History, which shows your recently played games, and Favorites, where you can bookmark the stuff you come back to.
(Pro tip: Set up your Favorites early. Scrolling through a 500-game library gets old fast.)
Most guides don’t mention this, but you can also press Y on many systems to add a game to Favorites right from the game list. Saves you a few steps.
Pro Tips for the Best Gaming Experience
You’ve got your gamestick set up and running.
Now comes the part where most people hit a wall.
How do you actually exit a game without unplugging everything? Where are your saves going? And why does your controller feel like it’s lagging behind your inputs?
I’ve walked hundreds of people through these exact questions. Some folks say these issues don’t matter because “real gamers” figure it out themselves. They think if you need help with basic functions, maybe retro gaming isn’t for you.
But that’s missing the point entirely.
These aren’t skill issues. They’re design quirks that nobody explains upfront. And honestly, I’d rather you spend time playing games than troubleshooting weird technical problems.
Let me show you what actually works.
Exiting a Game Without Pulling Your Hair Out
Press Select and Start at the same time. That’s it.
This brings up the exit menu so you can jump back to your main library. No need to restart the whole system (which I definitely did the first dozen times).
Save States vs In-Game Saves
Here’s where things get interesting for the future of retro gaming.
In-game saves work exactly like they did on the original console. You save at a checkpoint or save point, and that’s stored in the game’s memory.
Save states are different. They’re snapshots of exactly where you are at any moment. Think of it like pausing a movie and being able to come back to that exact frame later.
To create a save state, pause your game and look for the save state option in your menu. Most systems let you create multiple states per game.
I’m predicting we’ll see save state technology become standard across all gaming platforms within the next few years. It just makes too much sense.
When Things Go Wrong
Controller lag driving you crazy? Move your USB receiver to a front-facing port. The signal has trouble cutting through metal cases and other electronics.
If that doesn’t fix it, try the HDMI extender trick. Sometimes the receiver sitting right next to your HDMI output creates interference you wouldn’t expect.
No signal showing up on your TV? Double-check both ends of your HDMI cable. Then make sure your USB power cable is actually providing enough juice (some TV USB ports are pretty weak).
Button Mapping for the Adventurous
Most people never touch this, but if you want to get fancy, you can remap buttons in specific emulator settings.
Want jump on a different button? Go for it.
Just remember to write down what you changed. Future you will thank present you when you can’t remember why nothing works the way it should.
Download Your Free HSS Game Stick PDF Quick-Start Guide
Here’s something I think you’ll find useful.
I put together a one-page PDF guide that covers everything we just talked about. You can keep it on your phone or print it out and stick it next to your setup.
Why do I think you need this?
Because let me be honest. You’re going to forget some of this stuff. We all do. You’ll be three levels deep into a game next week and suddenly can’t remember how to save properly (or worse, how to exit without losing progress).
That’s where this guide comes in handy.
Now, some people might say physical guides are outdated. Everything’s online, right? Just Google it when you need help.
But here’s what I’ve noticed. When you’re actually playing, the last thing you want to do is tab out and search through forums or watch a ten-minute video just to find one answer.
Looking ahead, I think we’re going to see more gamers keeping quick-reference materials close by. Not full manuals. Just the essentials. The stuff you actually use.
This PDF gives you exactly that. Key functions you’ll reference again and again:
- How to save your game progress correctly
- The right way to exit without corrupting data
- Quick troubleshooting steps when something goes wrong
Think of it as your backup plan when your memory fails you at 2 AM.
The best part? It’s completely free. Just grab your copy of the hssgamestick instructions from hearthstats and you’re set.
[Download Your Free PDF Guide Now]
You’re All Set to Game
You came here stuck with a confusing box of parts.
Now you’ve got a fully functional retro console ready to go. The setup process is simple when you follow the right steps.
I created HSS Gamestick to make retro gaming accessible again. No complicated installations or tech headaches.
You’ve connected the hardware correctly. You know how to navigate menus, save your progress, and exit games without losing anything. Thousands of classic titles are now at your fingertips.
That’s the whole point of this guide. Getting you from unboxing to actually playing.
Stop reading and start playing. Load up that game you’ve been thinking about since you were a kid. Test out the controls and see how it feels.
Your retro gaming adventure is waiting. The console is ready and you know how to use it.
Time to press start.