I’ve tested controller settings across hundreds of hours of competitive play and I can tell you this: default settings are killing your performance.
You’ve probably felt it. That split second delay when you need to snap to a target. The drift that throws off your aim. The sensitivity that’s either too slow or impossibly twitchy.
Here’s the thing: manufacturers set default controls to work for everyone. Which means they don’t work great for anyone.
hssgamestick exists because I got tired of watching players blame themselves for what’s actually a settings problem. Your skill isn’t the issue. Your controller configuration is.
I spent months testing sensitivity curves, deadzones, and response settings across shooters, fighters, and battle royales. I documented what actually makes a difference and what’s just placebo.
This guide walks you through the exact process I use to dial in controller settings. Not some pro player’s setup that works for their specific game. A system you can apply to find what works for your hands and your playstyle.
You’ll learn how to adjust sensitivity without overshooting. How to set deadzones that eliminate drift without making your stick feel dead. How to tune response curves so your inputs feel instant.
No guesswork. Just a step-by-step method that takes about 20 minutes and actually fixes the sluggish, imprecise feeling you’ve been fighting against.
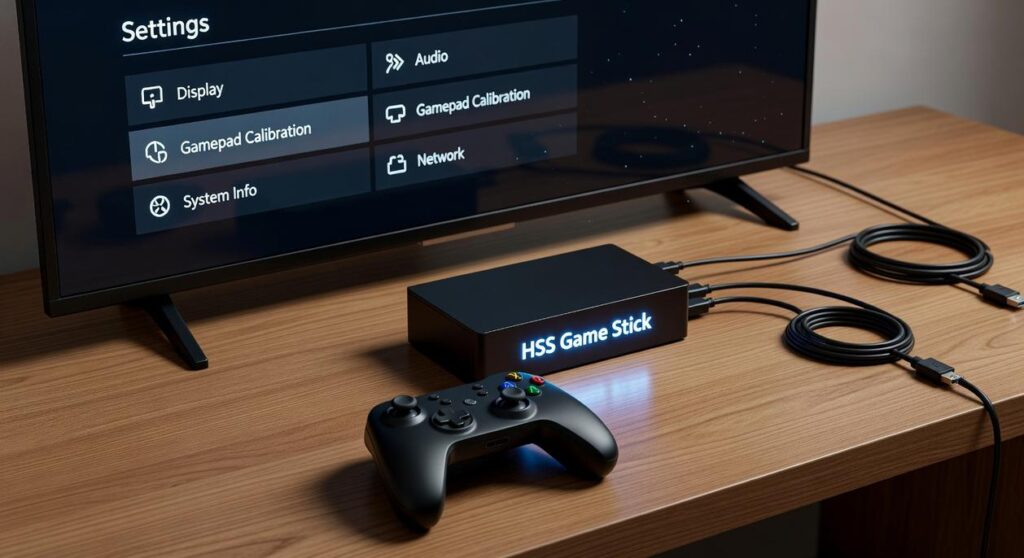
Decoding the Core Settings: Sensitivity, Deadzone, and Response Curve
You open your settings menu and see dozens of sliders.
Sensitivity numbers from 1 to 20. Deadzone percentages. Response curves with names that sound like math class.
And you’re supposed to just know what all this means?
Here’s what most guides won’t tell you. These settings aren’t about finding some magic number that works for everyone. They’re about understanding what each one actually does so you can build a setup that fits how you play.
Some players swear you should max out sensitivity and just train your muscle memory. They say low sensitivity holds you back from quick flicks and fast reactions.
But that’s not the whole story.
Crank your sensitivity too high and you’ll overshoot every target. Your crosshair will feel like it’s ice skating across the screen. Sure, you can turn faster, but can you actually hit anything?
Let me break down what these settings hssgamestick actually control.
Sensitivity is simple. It’s how far your crosshair moves when you push the stick. Higher numbers mean faster movement. You’ll usually see two types: general sensitivity for looking around and ADS sensitivity for when you’re aiming down sights.
Most people need different speeds for each (you want precision when you’re scoped in).
Now here’s where it gets interesting.
Deadzone is your stick’s buffer zone. It’s the small area around the center where the game ignores your input. Why does this matter? Because controllers wear out. That wear creates stick drift, where your aim creeps even when you’re not touching anything.
Setting a small deadzone gives you instant response. But if your controller has any drift, you’ll need to increase it slightly. Check the instructions manual hssgamestick if you’re not sure where to start.
Response curve is the game changer most people ignore.
Think of it like a car’s gas pedal. Linear means the stick responds exactly as you push it. Move the stick halfway and you get exactly half speed. It’s predictable but can feel stiff.
Exponential starts slow then ramps up fast. Small movements give you fine control, but push the stick further and your aim accelerates quickly. Great for precision with the option to snap to targets.
Dynamic tries to split the difference. It reads your input speed and adjusts on the fly.
Which one’s best? Depends on your playstyle. If you make a lot of small adjustments, exponential usually feels better. If you want total control over every movement, linear is your friend.
The menus look different on PlayStation versus Xbox versus PC. But these three concepts show up everywhere. Once you understand what they do, you can dial in any controller on any platform.
The Method: A Step-by-Step Process to Find Your Perfect Sensitivity
You need a controlled environment for this.
Enter the Lab: Why you must use a training mode or firing range for this process. Adjusting settings in the middle of a live match is a recipe for failure.
Your teammates don’t want to watch you fumble around while you test whether 6 or 7 sensitivity feels better. Plus, the pressure of a real match makes it impossible to judge what’s actually working.
So load up your game’s practice mode. Find a quiet space where you can test without distractions.
Here’s how I do it.
Step 1: The 180-Degree Turn Test. Start with a low sensitivity. Can you comfortably perform a 180-degree turn with one smooth, natural motion of the stick? If you’re running out of stick movement before you complete the turn, bump it up.
Adjust upwards in small increments until you can nail that 180 every time. This is your baseline. You need to be able to react to threats behind you without thinking about it.
Step 2: The Target Tracking Test. Find a moving target or bot. Try to keep your crosshair perfectly centered on it as it moves.
If your aim is shaky and overcorrecting, your sensitivity is too high. If you’re lagging behind and can’t keep up, it’s too low.
This test reveals the truth about your control. Most people think they need higher sensitivity until they actually try to track something.
Step 3: The Snap Test. Quickly flick your aim between two distant targets. Are you overshooting or undershooting consistently?
Make micro-adjustments based on the results. If you’re flying past your target every time, dial it back. If you’re stopping short, bump it up slightly.
Important Note: Do not just copy a pro player’s settings. Their setup is different from yours. Monitor size matters. Seating distance matters. And their muscle memory? That took thousands of hours to build.
Use their hssgamestick settings as a starting point, not a destination.
Your perfect sensitivity is the one that feels natural to you after you’ve actually tested it. Not the one that looks good on paper.
Fine-Tuning for Precision: Mastering Your Deadzone and Response Curve
Most players skip this part.
They jump straight into matches with default settings and wonder why their aim feels off.
Here’s what I’ve learned. Getting your deadzone and response curve right makes a bigger difference than you think. But I’ll be honest with you right up front.
There’s no perfect number I can give you.
Calibrating Your Deadzone
The goal here is simple. You want the lowest possible setting without any stick drift.
Start by turning your deadzone down to zero. Do you see any camera movement when you’re not touching the stick? That’s drift.
Now nudge the setting up by one point at a time until the drift stops.
This gives you maximum responsiveness. Your stick reacts the instant you move it (which matters more in close-range fights than most people realize).
Some controllers drift more than others though. I’ve tested dozens of setups for hssgamestick and the variance is real. A brand new controller might sit at 2 or 3. An older one might need 8 or 9.
Choosing Your Response Curve
This is where things get personal.
Linear gives you a 1:1 input. The speed of your aim directly matches how far you push the stick. Best for players who want raw feedback and consistent muscle memory. You’ll see this a lot in building-heavy games.
Exponential (sometimes called Dynamic) starts slow for fine-tuned micro-adjustments. Then it ramps up quickly as you push the stick further.
Most FPS players pick exponential. It helps with both long-range precision and fast turns.
But here’s the thing I’m not totally sure about. Some players swear linear makes them more consistent over time. Others say exponential is objectively better for competitive play. The data doesn’t clearly support either side.
My advice? Spend five minutes with each curve in a training mode. One will almost certainly feel more natural to you.
Trust that feeling. Your brain already knows what it wants even if you can’t explain why.
Advanced Settings and Game-Specific Optimizations
Most players never touch their advanced settings.
They stick with defaults and wonder why their shots feel sluggish or their aim feels off by just a hair.
Here’s what I’ve learned after years of testing different configurations. The small stuff matters more than you think.
Trigger Deadzones
In shooters, your trigger response time can make or break a gunfight. I reduce my trigger deadzones on my controller hssgamestick setup so the action registers faster.
Some controllers let you use trigger stops too. That cuts the physical distance your finger travels before firing.
We’re talking milliseconds here. But in competitive play, milliseconds win rounds.
Vibration Settings
This one splits people down the middle.
I turn vibration off completely when I’m playing ranked matches. It’s just noise that pulls my focus away from what’s happening on screen.
But for story games? I leave it on. The feedback adds something to the experience.
Try both ways in settings hssgamestick and see what feels right. There’s no wrong answer (just don’t let it mess up your aim).
Gyro Aiming
If you’re on Switch or PlayStation, gyro controls are worth exploring.
You use your stick for broad movements and tilt the controller for precision adjustments. It sounds weird until you try it.
I spent about two hours getting comfortable with gyro. Now I can’t imagine playing certain shooters without it.
Take Control of Your Game
You now have a complete method for adjusting your gamestick controller settings.
No more fighting with sluggish controls that don’t match what you’re trying to do. No more wild movements that send your aim flying across the screen.
You’ve learned how to systematically tune your sensitivity, deadzone, and response curve. These aren’t just numbers anymore. They’re the difference between a controller that fights you and one that feels like an extension of your hands.
Here’s what you need to do right now: Open your favorite game’s training mode and start experimenting with hssgamestick settings. Try the adjustments we covered.
Be patient with yourself. Your muscle memory needs time to adapt to new settings. Stick with them for at least a few hours before you make more changes.
Your performance will improve once your hands and brain sync up with your customized setup.
The defaults were never meant for you specifically. Now you have settings that are.
Stop settling for controls that hold you back. Start building the setup that lets you play at your best.